♦ Debriefing

IMG_2229

Dear Shaina,

I know it sounded like I got you all wrong, but really, I didn’t. I am proud of your creative resourcefulness, in all matters. I am in awe of your comfort with your being by yourself, your ability to structure your time and accomplish what you set out to do without any prodding from anyone other than yourself…and then turn around and organize a social outing with a few close friends or 80 friends of friends because you’re ready for some fun. You seem to be able to manage what most of us still find very challenging…meeting our alone needs and our social needs without expecting someone else to do it for us. I am proud of you…and of me and Dad for providing the nurturance and opportunities that gave you the space to take your life wherever you chose. And you have chosen well. We are proud!

IMG_1812

My getting it wrong didn’t really have anything to do with you. Every mother has their own vision of the ideal mother they want to be and believe they can be. It doesn’t necessarily comply with the actuality of their mothering or the vision their children have of them. In truth, I never imagined myself as a working mother. My fantasy was that I would be the PTA organizing, cookie baking, field trip driving mom who was always there and never missed a mom-beat. Instead, I was an overbearing, impatient, overprotective worried mother who was pretty bored with the do-the-laundry-while-the-baby-is-taking-a-nap routine. I realized pretty early on that I needed to go to work for your sake and mine. I don’t regret my decision. It proved to help both of us grow into independent, productive and fun-loving women.10257145_10201836219616231_363673777101131976_n

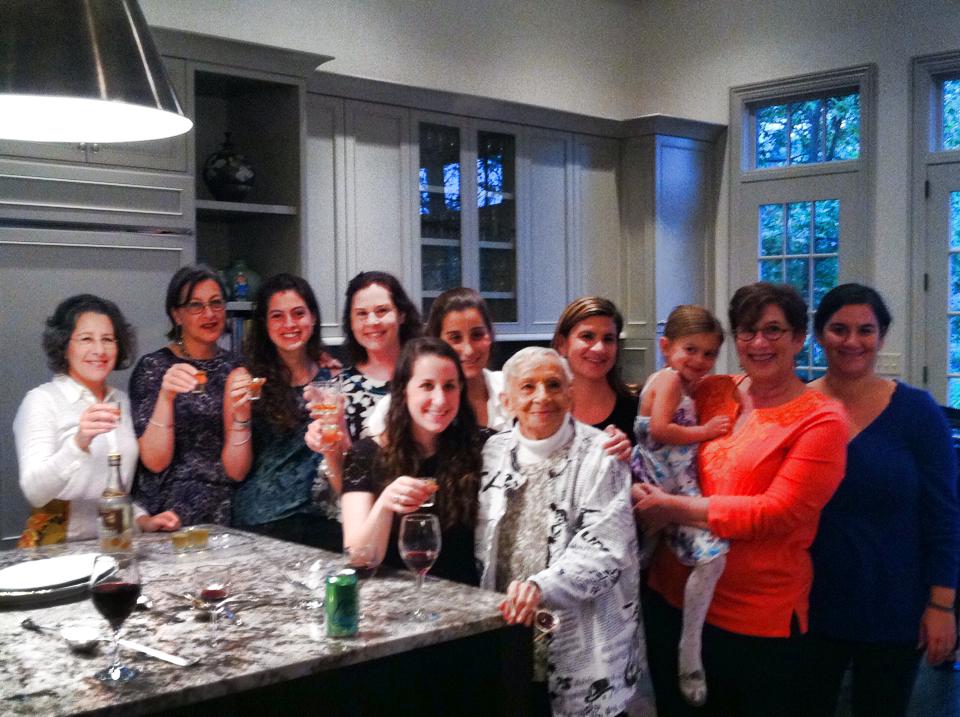
That doesn’t mean that I am immune to the pangs of guilt that all working mothers have, especially when their children are home alone sick. The sticky remnants of our idealized mother-image gnaws at our hearts. If only I had been there…how much I missed not being there…how much I missed even when I was there… It’s never perfect and we keep wishing it were.

IMG_1815

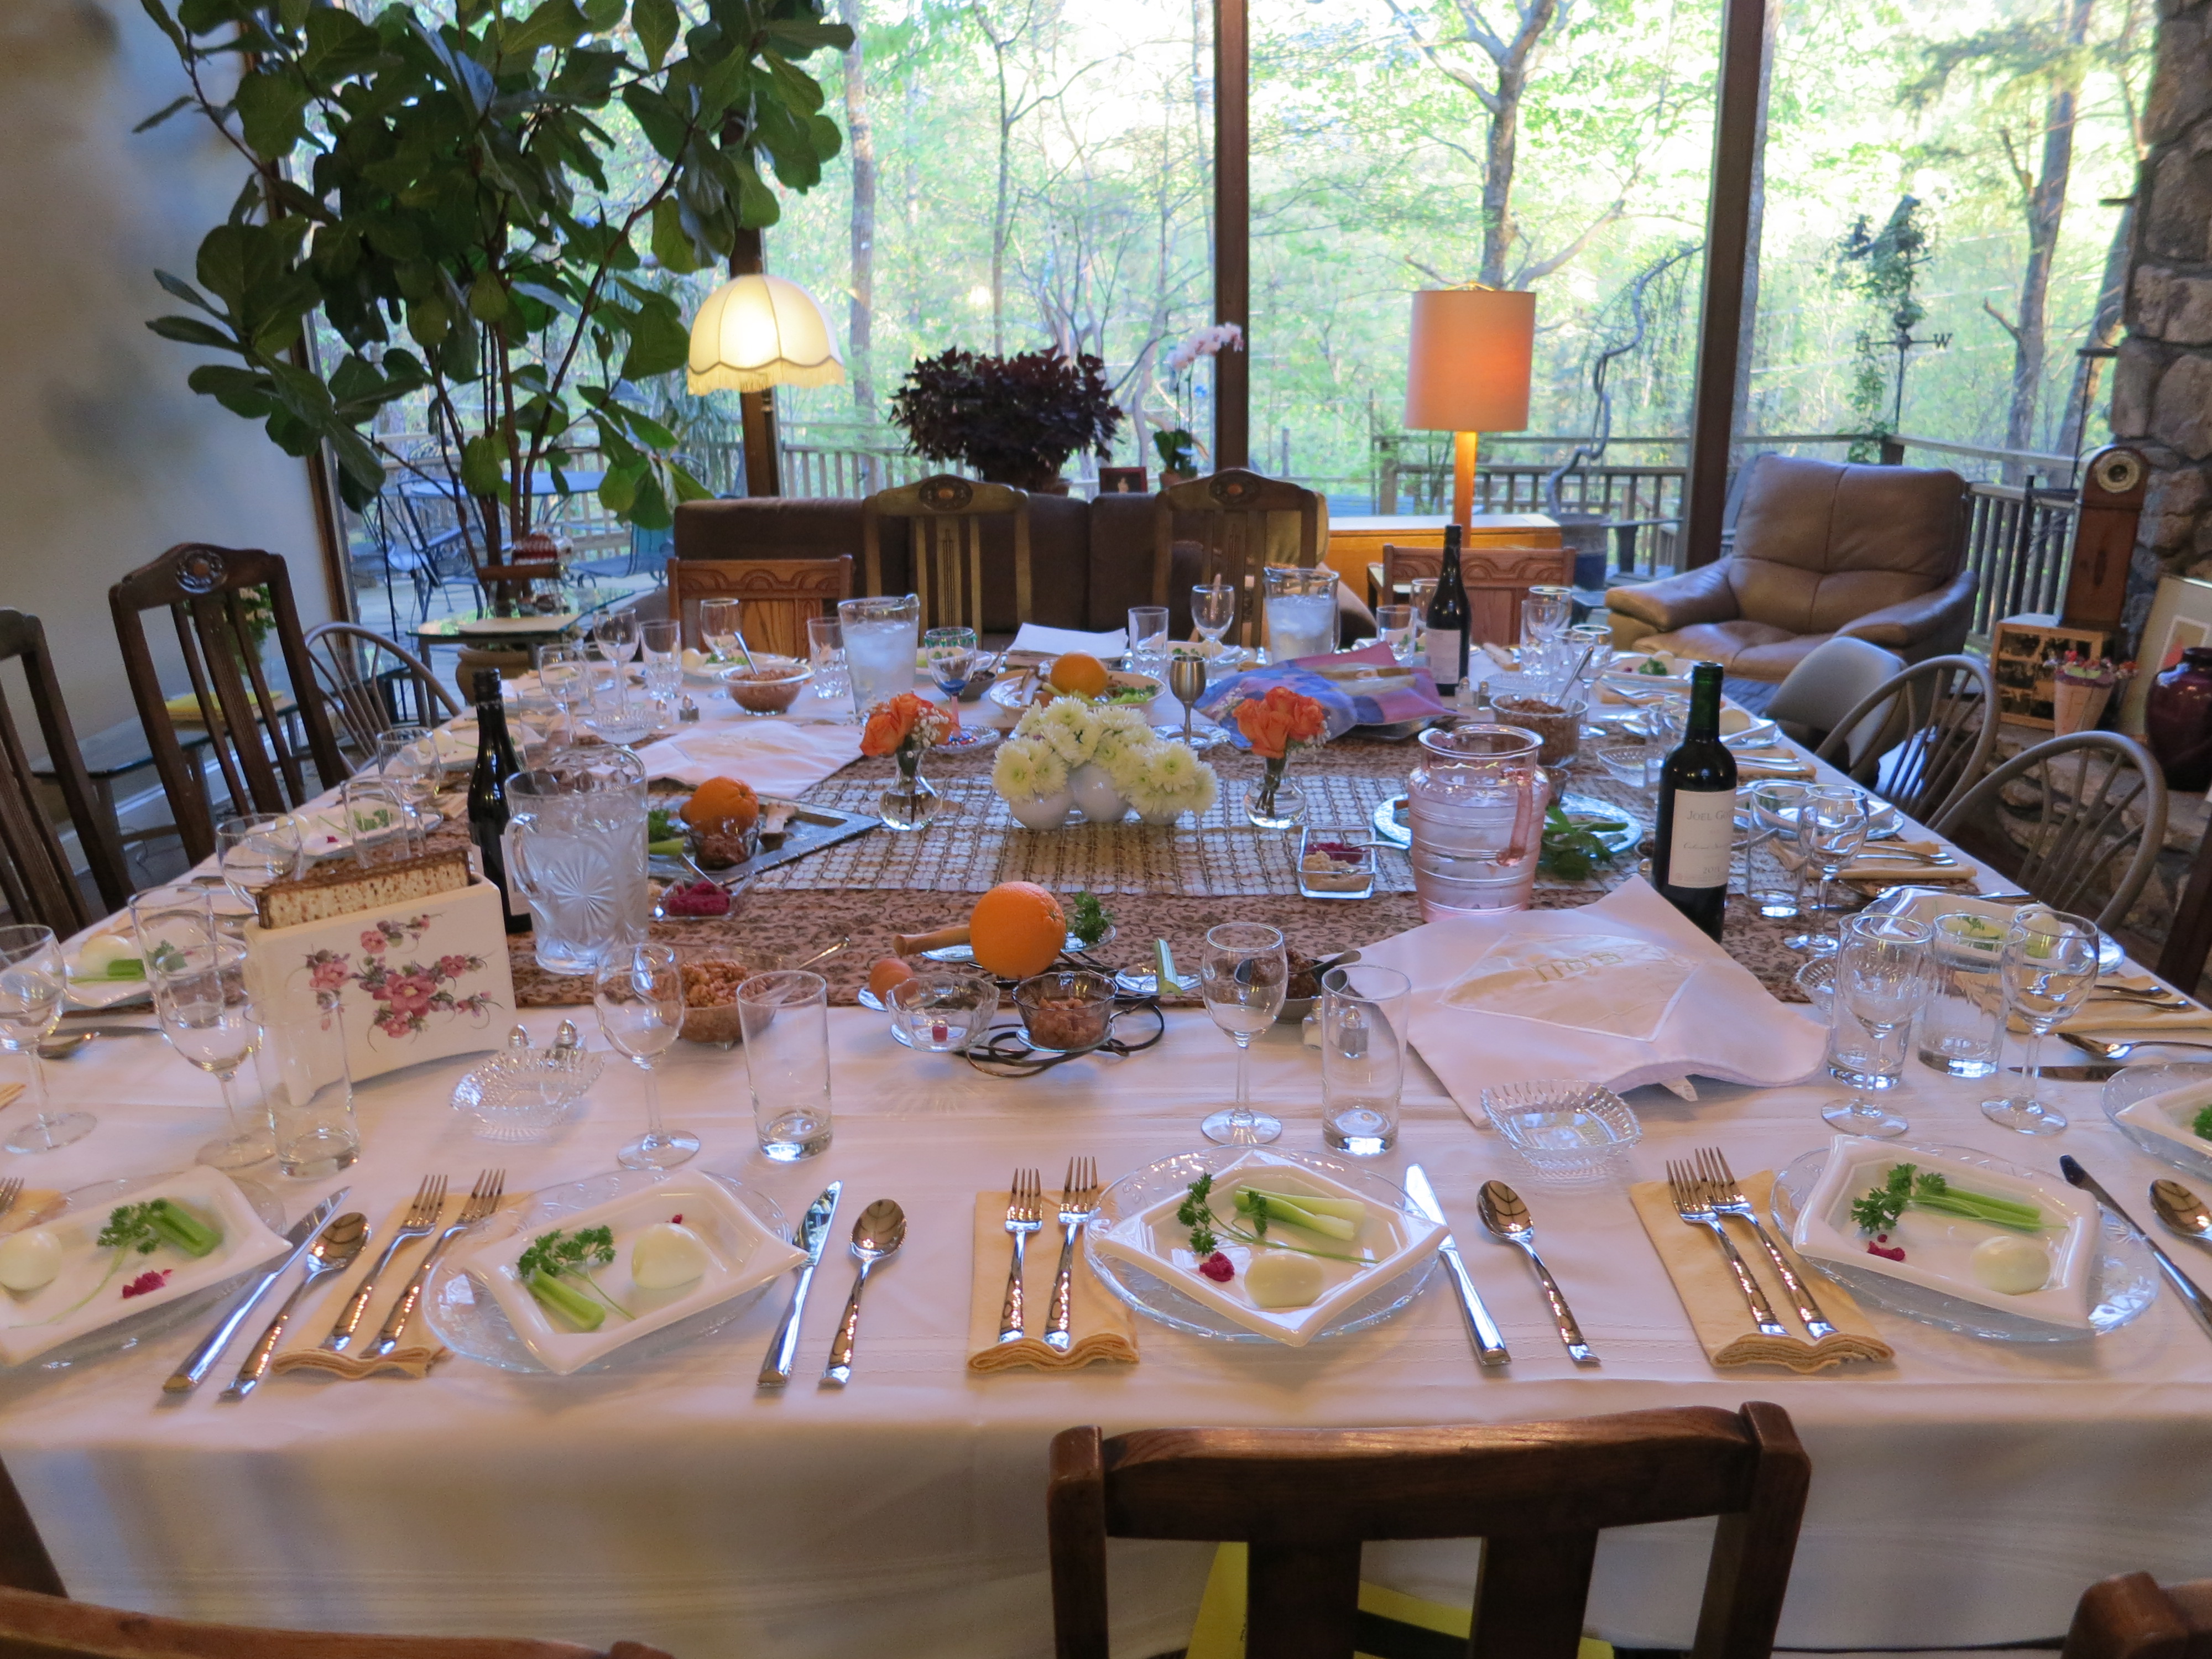
Shaina, each time you come home from whatever far-away adventure you are currently on, I have the sense of meeting someone deeply familiar, yet subtly altered. You seem more settled and happy. The kind of happy that eases a mother’s mind. This Passover was one of our best ever…and not just because all the food was the best ever (even the gefilte fish). Your consistently gentle essence breezed in and drew us into late night talks, kitchen marathons and momentary peeks into the ever evolving world of Shaina. Being with you, shopping with you, debriefing our days (a new habit you picked up from a housemate…thank you thank you!), even cooking with you, was perfect!

IMG_3463

So Shaina, memory is selective and the timing of memories is especially altered. I remember the blue jello dreidles and the green poop and the witches games and the mud pies and all the mac n cheese you ate as a little girl. I remember. I was there. I remember the kitchen experiments when you got older, although more vaguely, because I wasn’t always there. The trashed kitchen memories were vivid as they awaited me when I did get there.

IMG_1796IMG_1804

Today, mother and daughter, we are here together creating new memories….memories that may supersede other memories in their poignancy, their pleasure and in their immediacy…or not. It’s been an incredible holiday and I can’t wait to do it again!

Love,
Mom
xoxooxoxxoxoxoxo

IMG_3453


Passover Sponge Cake

IMG_2224

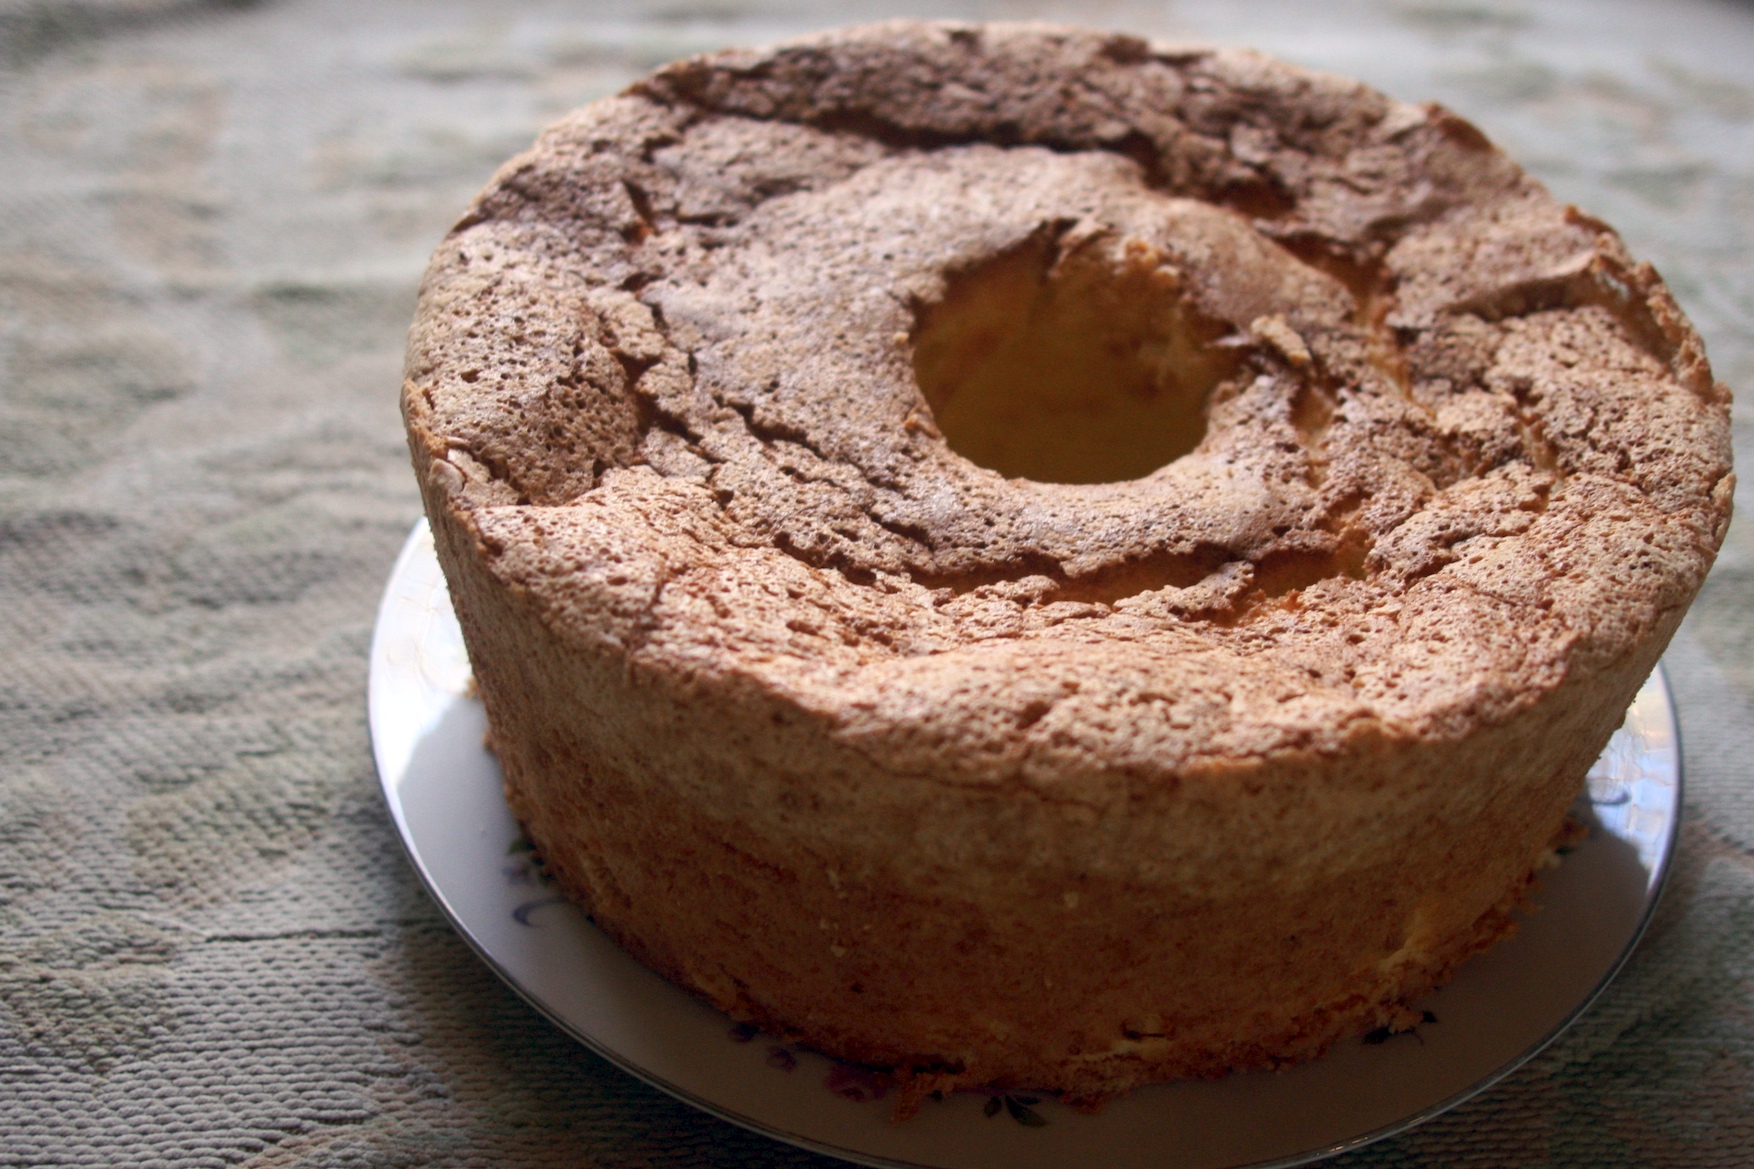
Shaina, who knew that this was your all time favorite cake, Passover or not?! I have spent the last three years trying to perfect it. Not the recipe. That’s standard…the same cake Bubbe made every Passover since I have been conscious…the recipe on the back of the Manischewitz Potato Starch can. Every year Bubbe would exclaim at the height of her cakes…the higher the better…it has to do with the egg whites. I started making them the last couple years of her life as she sat in my kitchen directing my efforts. They didn’t come out as high as hers and invariably one would fall apart when I took it out of the pan and I would have to make another one, using the crumbled one for strawberry trifle (your Dad’s favorite). One year, I remember making three cakes before I finally got one to hold together…not that anyone was complaining.

IMG_2218

IMG_3442

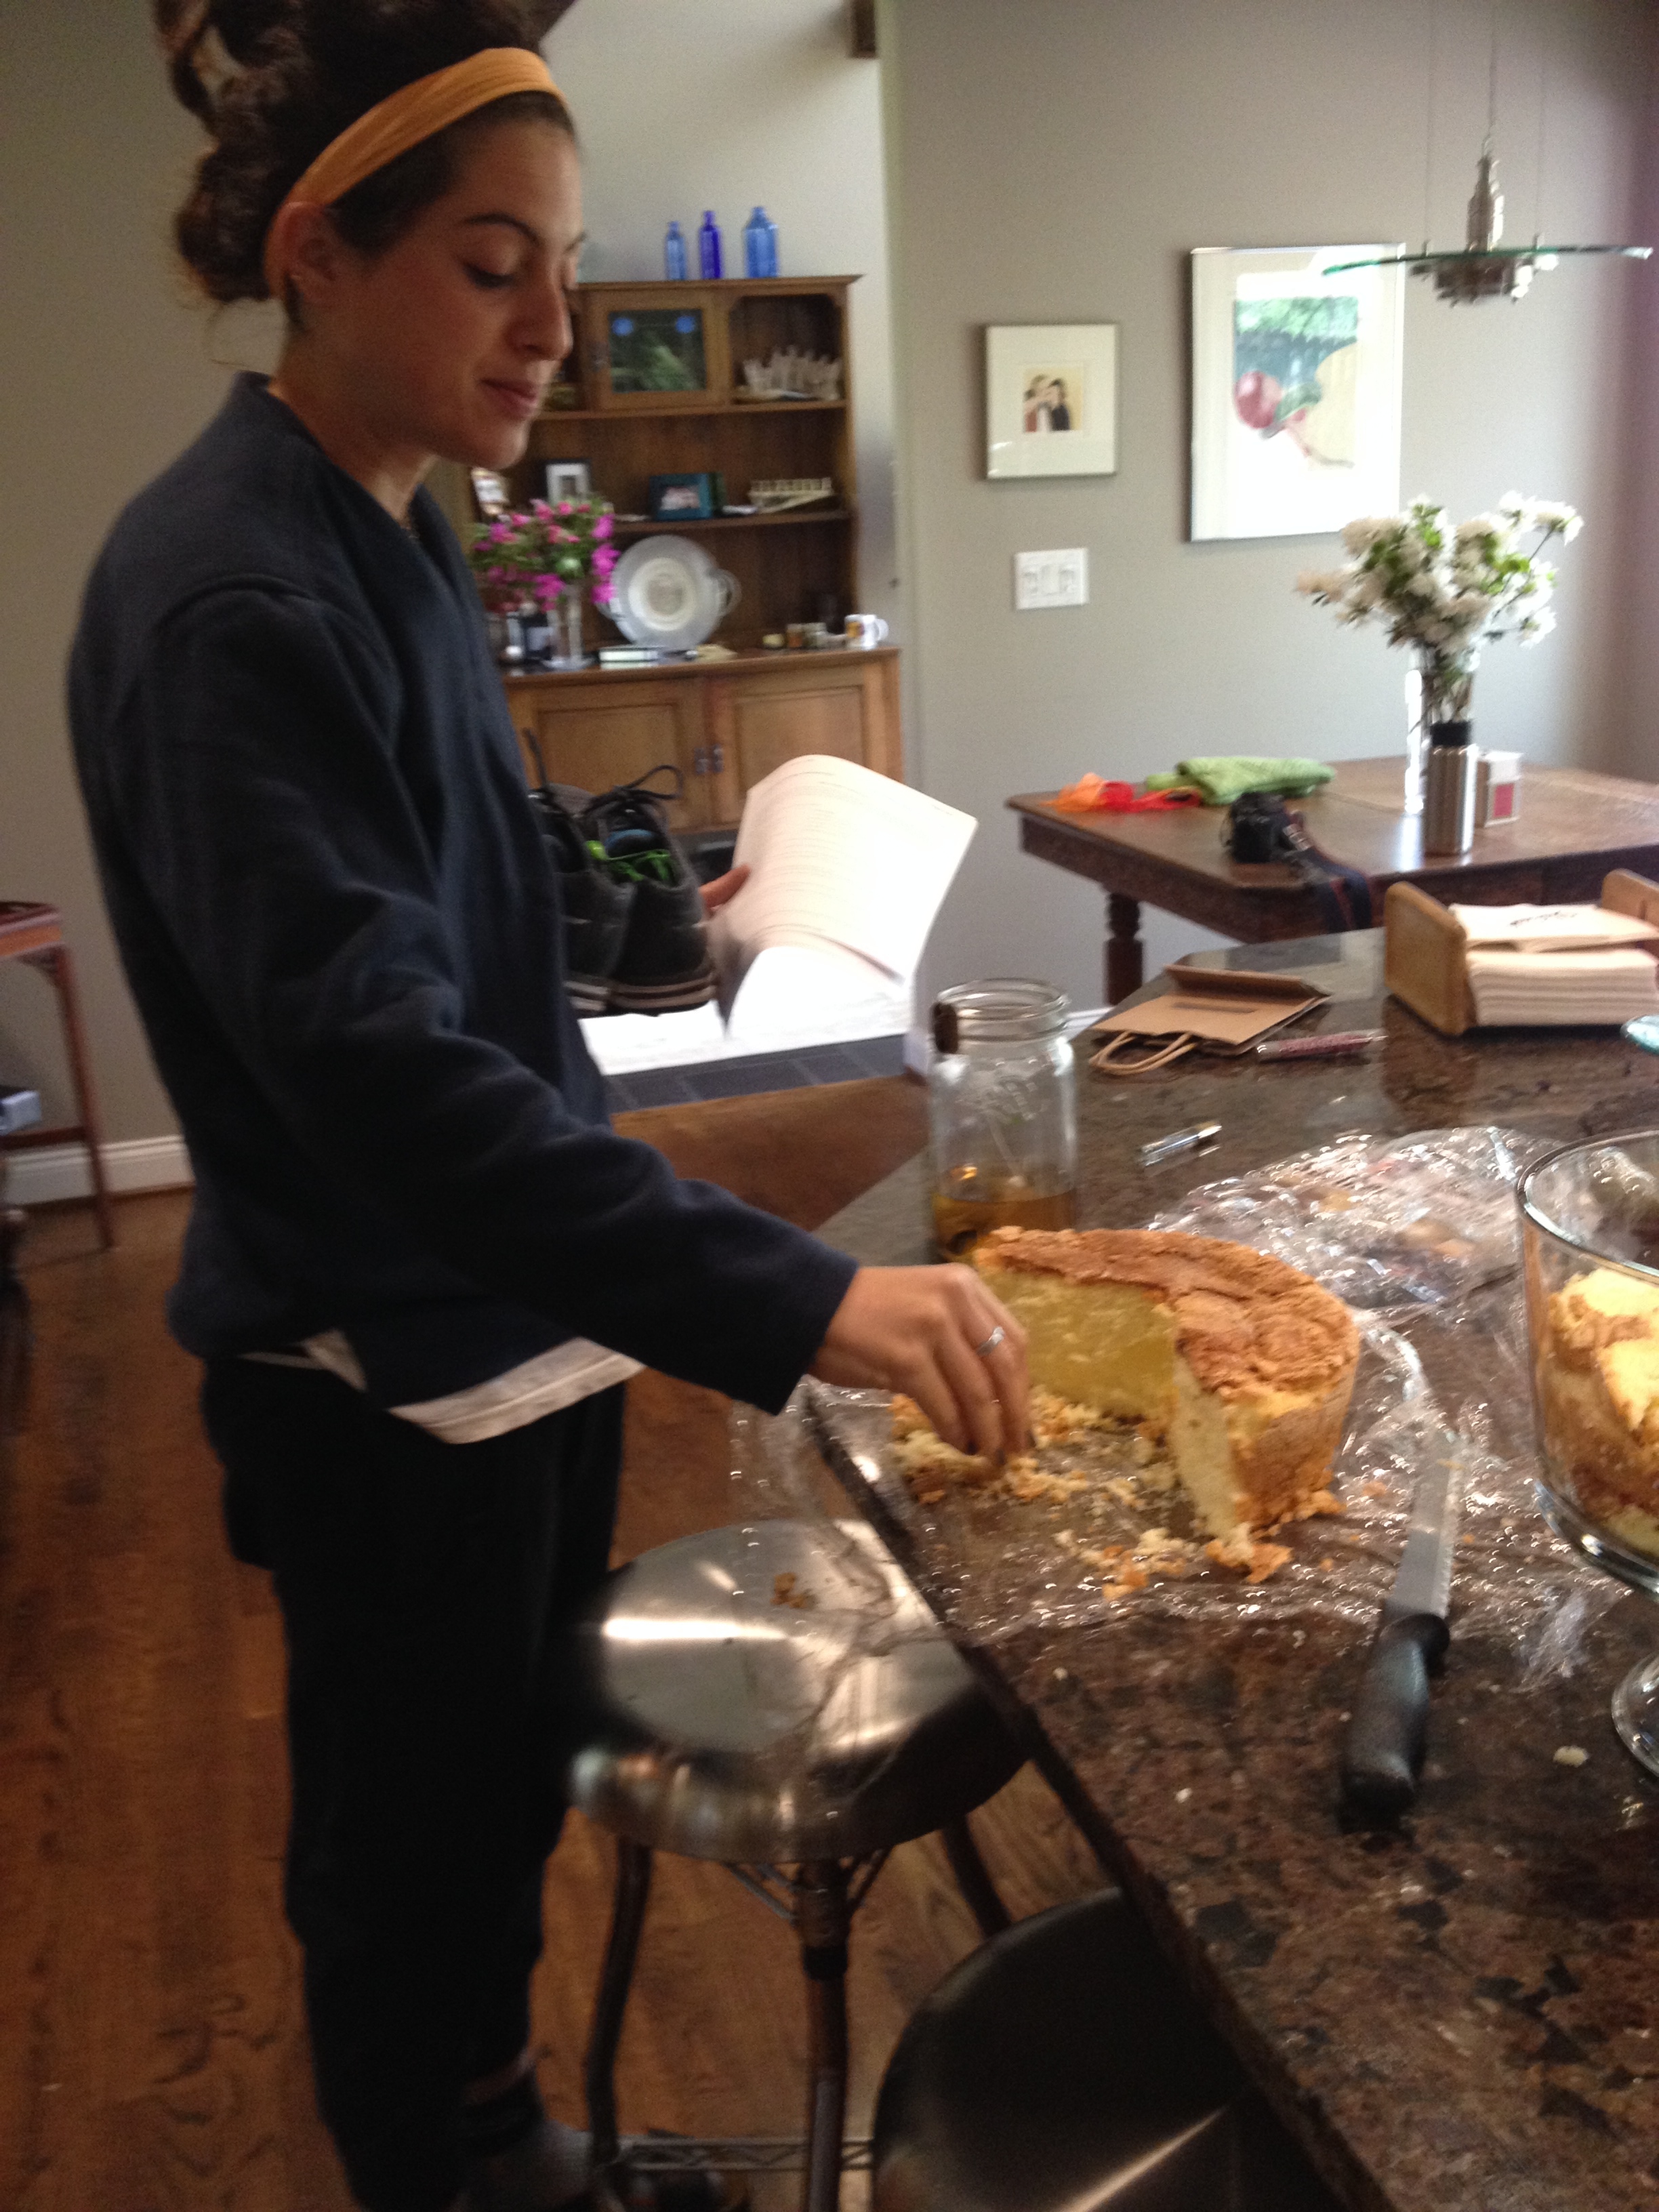
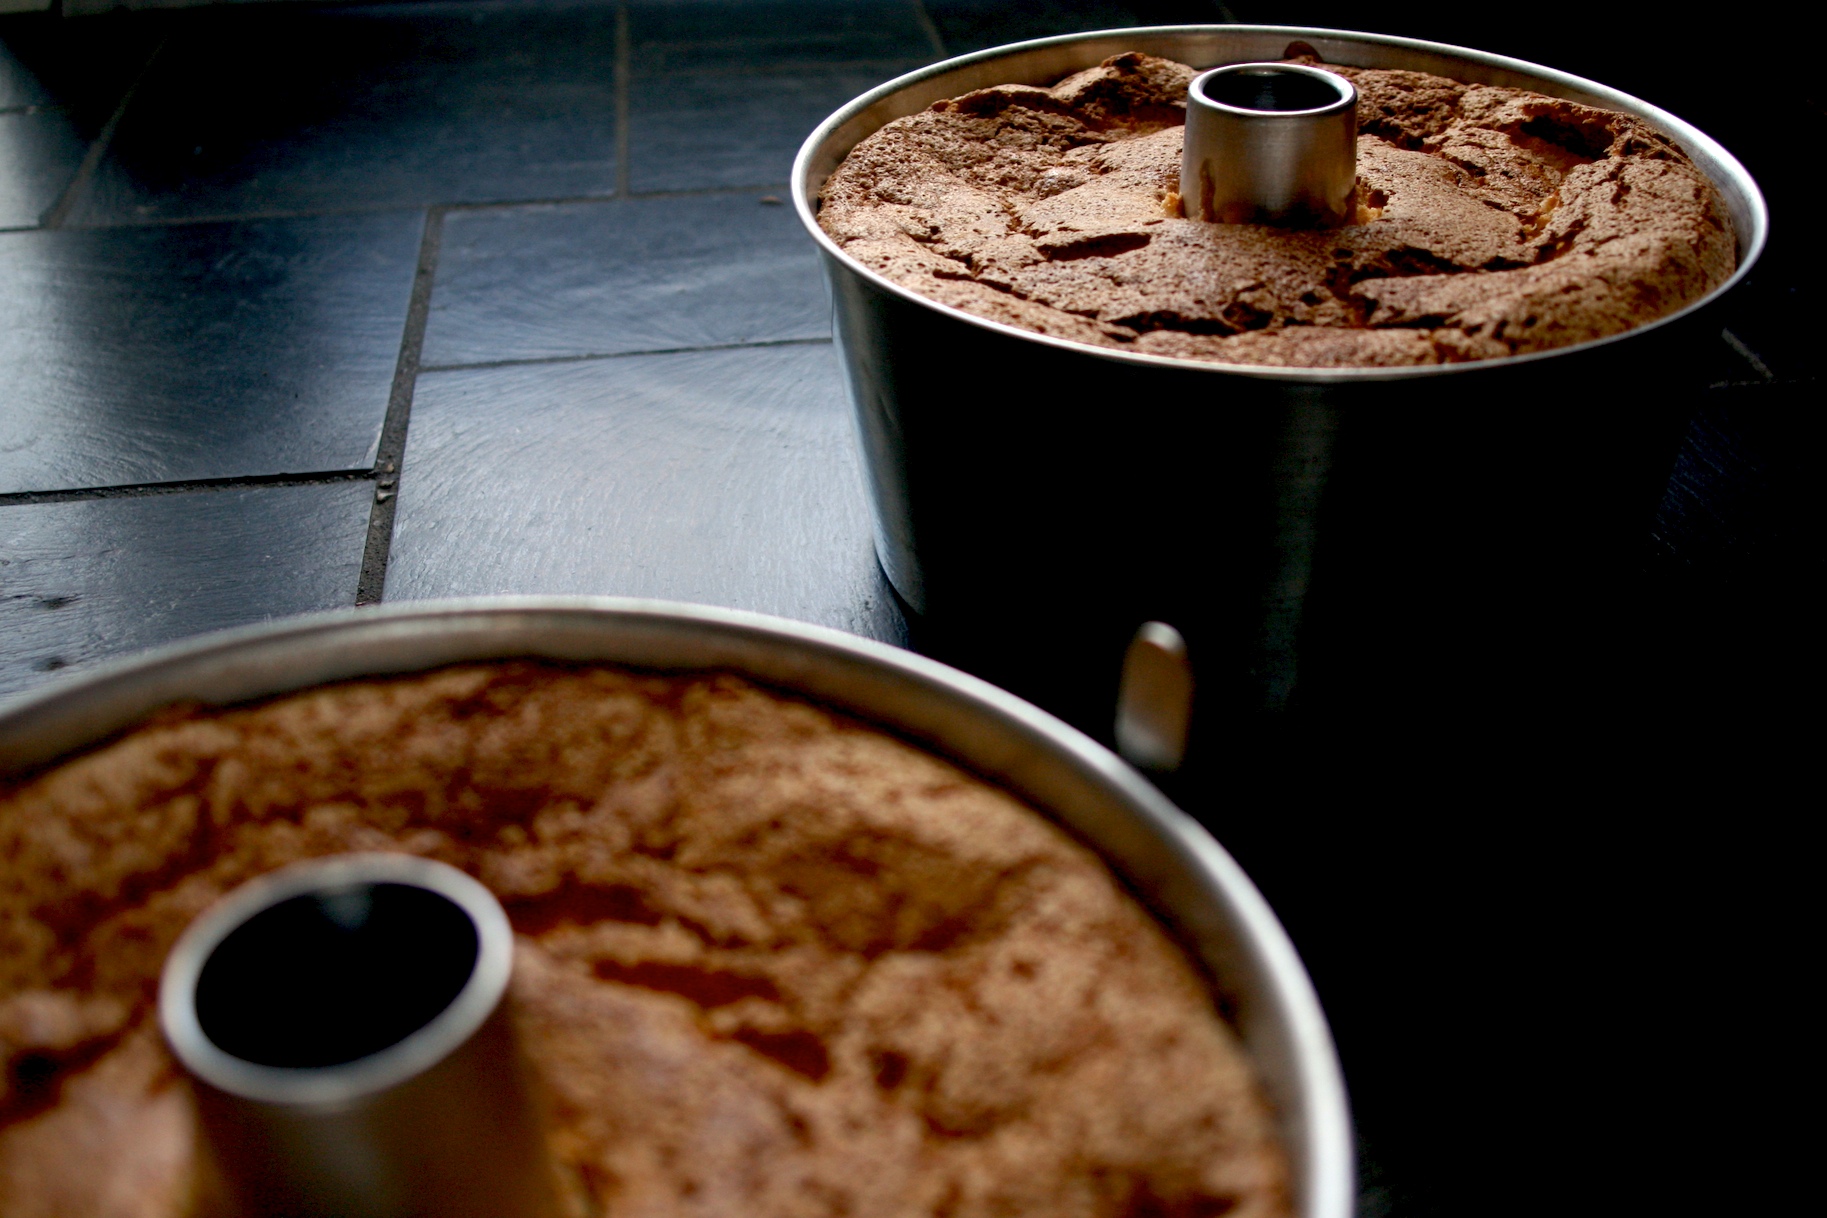
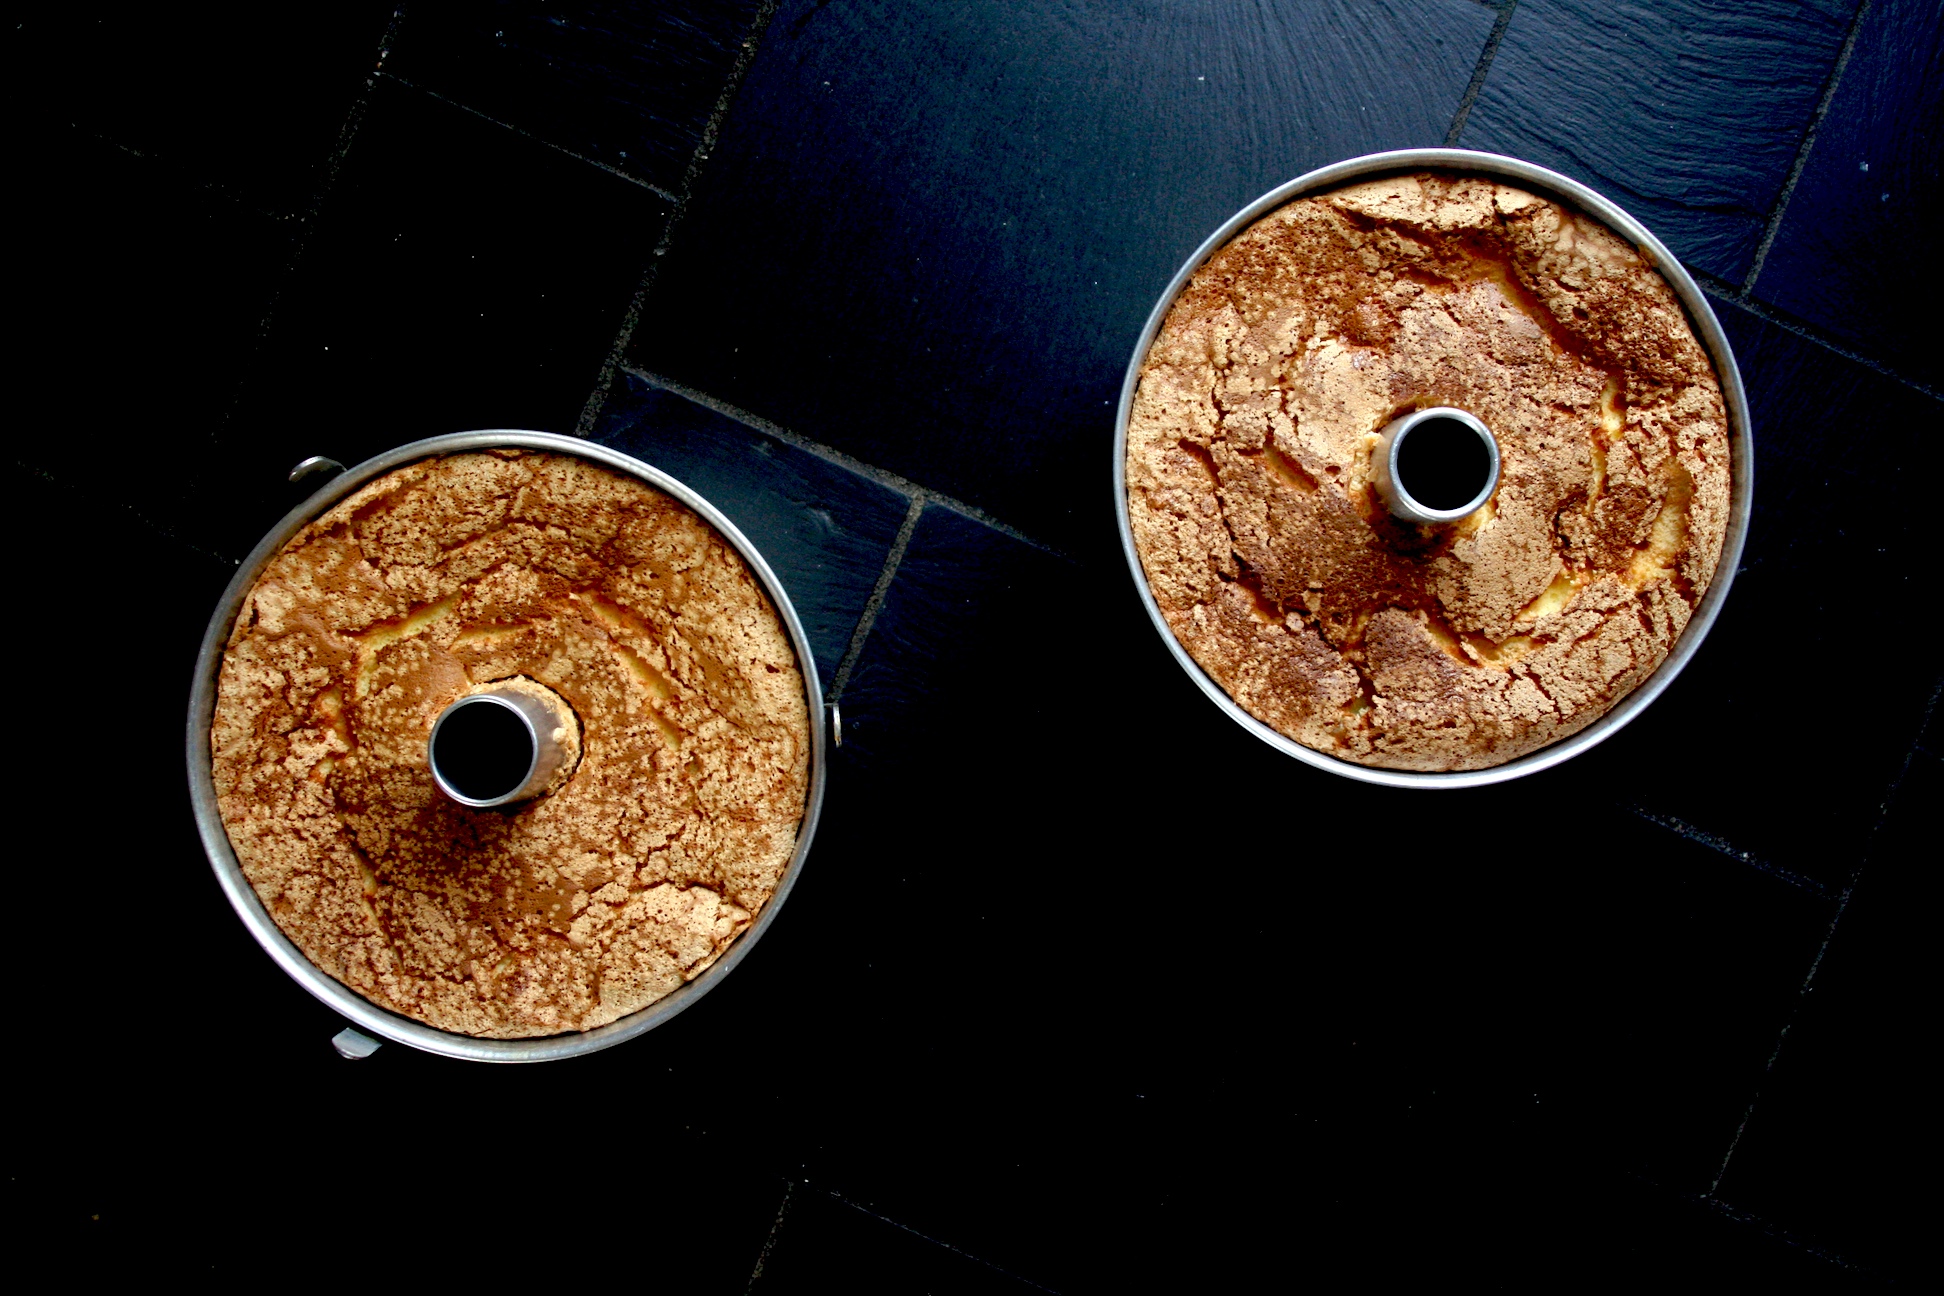
This year, another miracle of Passover occurred. I produced two fully intact, respectably high (although in my memory, Bubbe’s were higher) Passover sponge cakes. And you revealed that this was your favorite all time cake. Will wonders never cease?!

It turns out that this cake is also gluten-free and makes a perfect cake all year round for those gluten free people in your life. It makes delicious strawberry shortcake and goes well with homemade lemon curd (a recipe from a friend).

I guess I’ll be making a third sponge cake again this year for your birthday, Shaina…the day after Passover ends.

Manischewitz Passover Sponge Cake
(from the back of the Manischewitz Potato Starch Can)

  • 7 eggs
  • 1 1/2 cups sugar, sifted
  • 1 1/2 teaspoons lemon zest
  • 1 1/2 tablespoons fresh lemon juice
  • 3/4 cup Manischewitz potato starch, sifted
  • dash of salt

Separate 6 of the eggs. Beat the six egg yolks and one whole egg until light and frothy. The key here is to use a regular stand mixer (not a hand-held) and really beat those eggs until they actual change color and become lighter.

Gradually add the sifted sugar and beat thoroughly. Continue beating while adding the lemon juice and zest ( I usually add a little more zest and juice than the recipe calls for up to two teaspoons of zest and two tablespoons of juice). Beat thoroughly together.

Gradually add the sifted potato starch, stirring constantly to ensure thorough blending.

Beat egg whites with salt until stiff but not dry. Fold gently but thoroughly into egg yolk mixture. The key here is to make sure there is not even a drop of egg yolk in the egg whites and that you use a separate clean bowl and beaters. I use a hand held for the white and always keep them far away from the yolk mixture when preparing this cake.

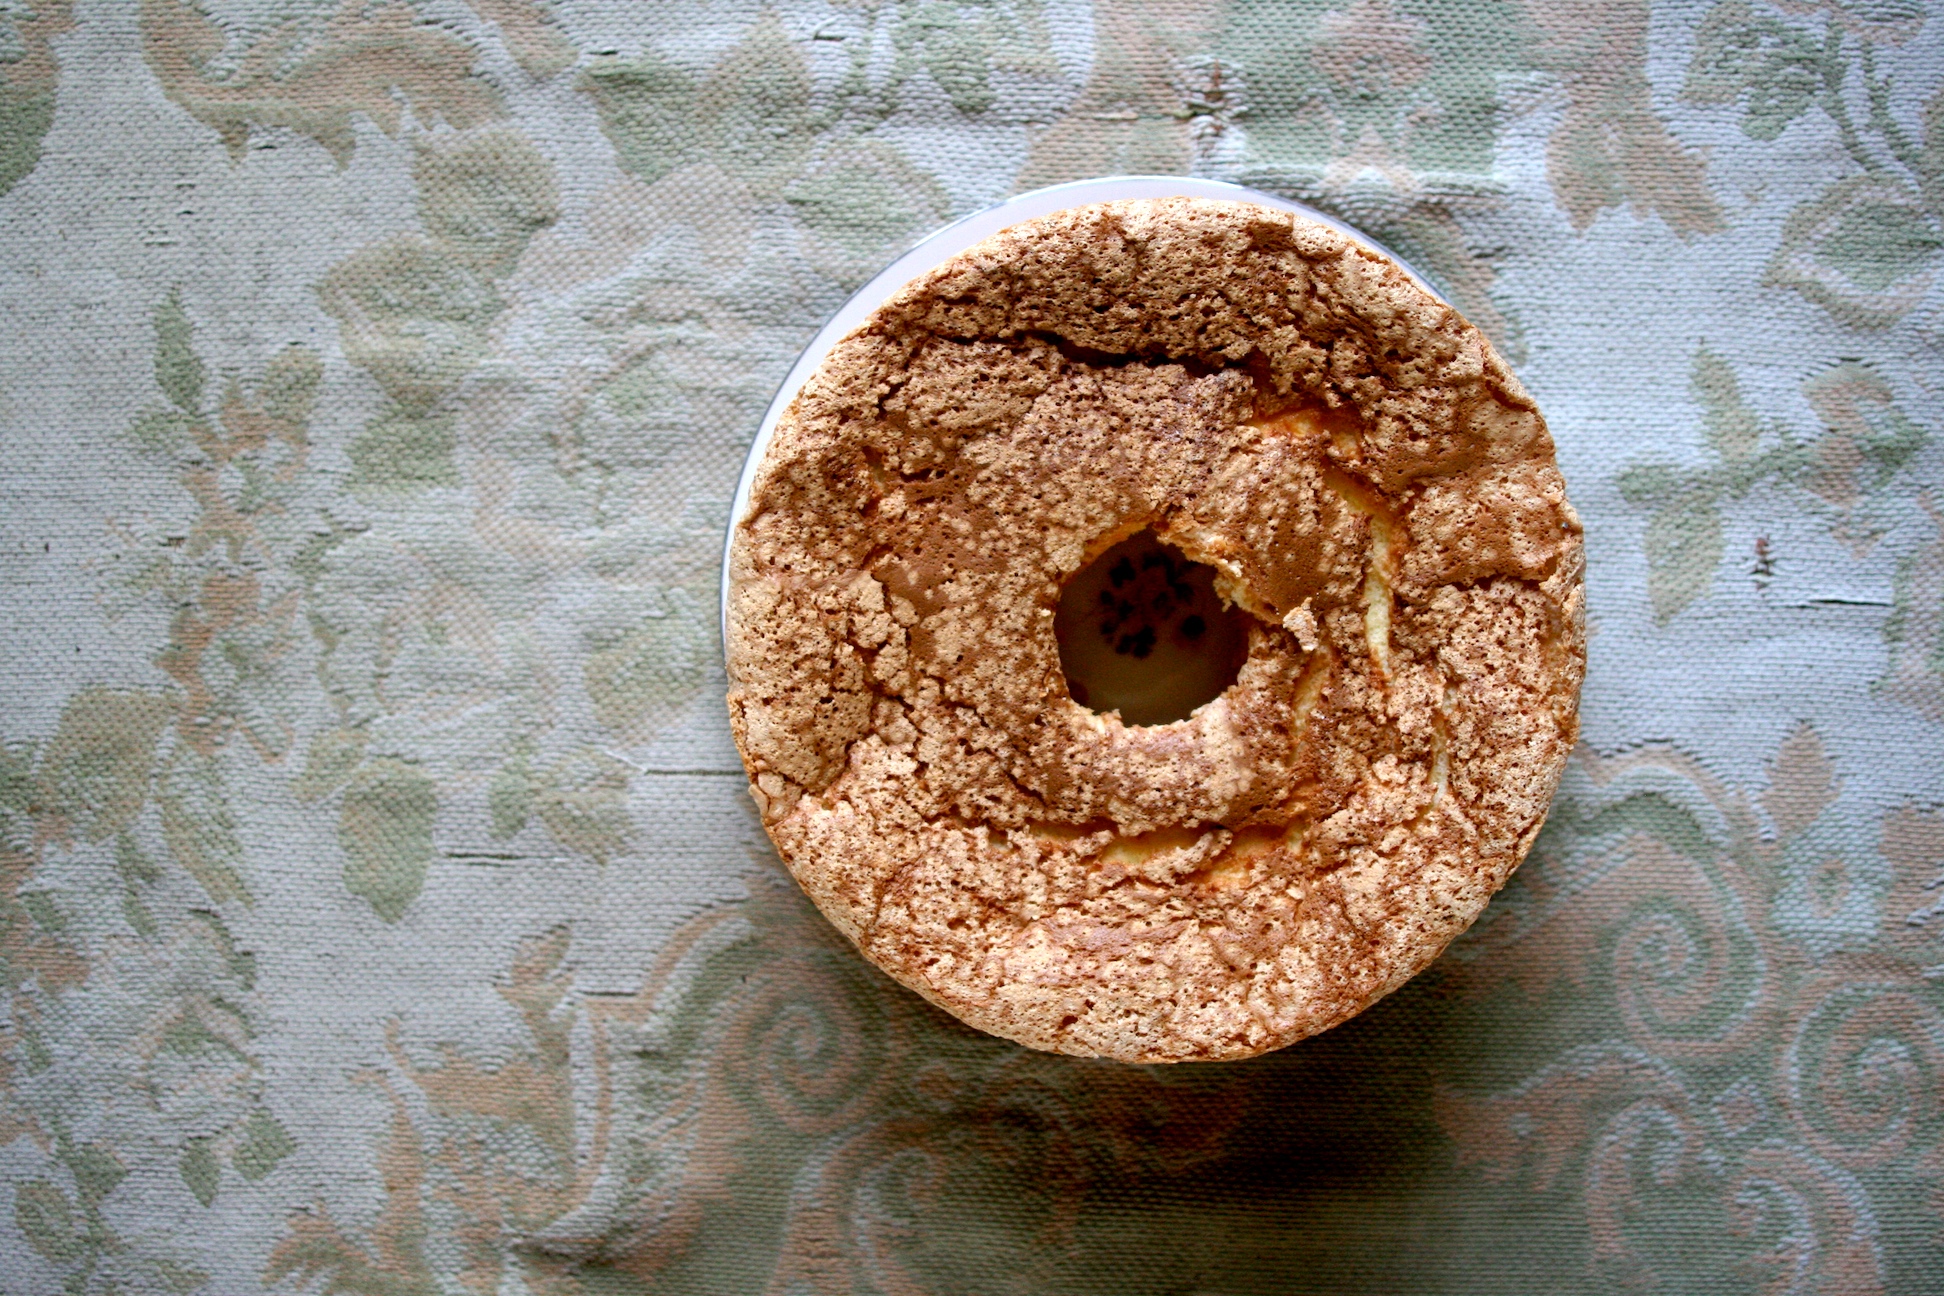
Place in and ungreased tube pan (I like the tube pans that have the detachable bottom). Bake in a 350° oven about 55 minutes or until cake springs back when touched gently with fingers. I bake this cake for 56 -58 minutes. The top should be brown but not burned and a little crusty.

IMG_1776

Invert pan and cool thoroughly before removing cake from pan.  Once you invert the pan (I use wine bottles), do not even attempt to remove the cake until it is absolutely stone cold. Use a sharp knife to go around the edges of the pan and the tube in the center of the pan.

IMG_3446

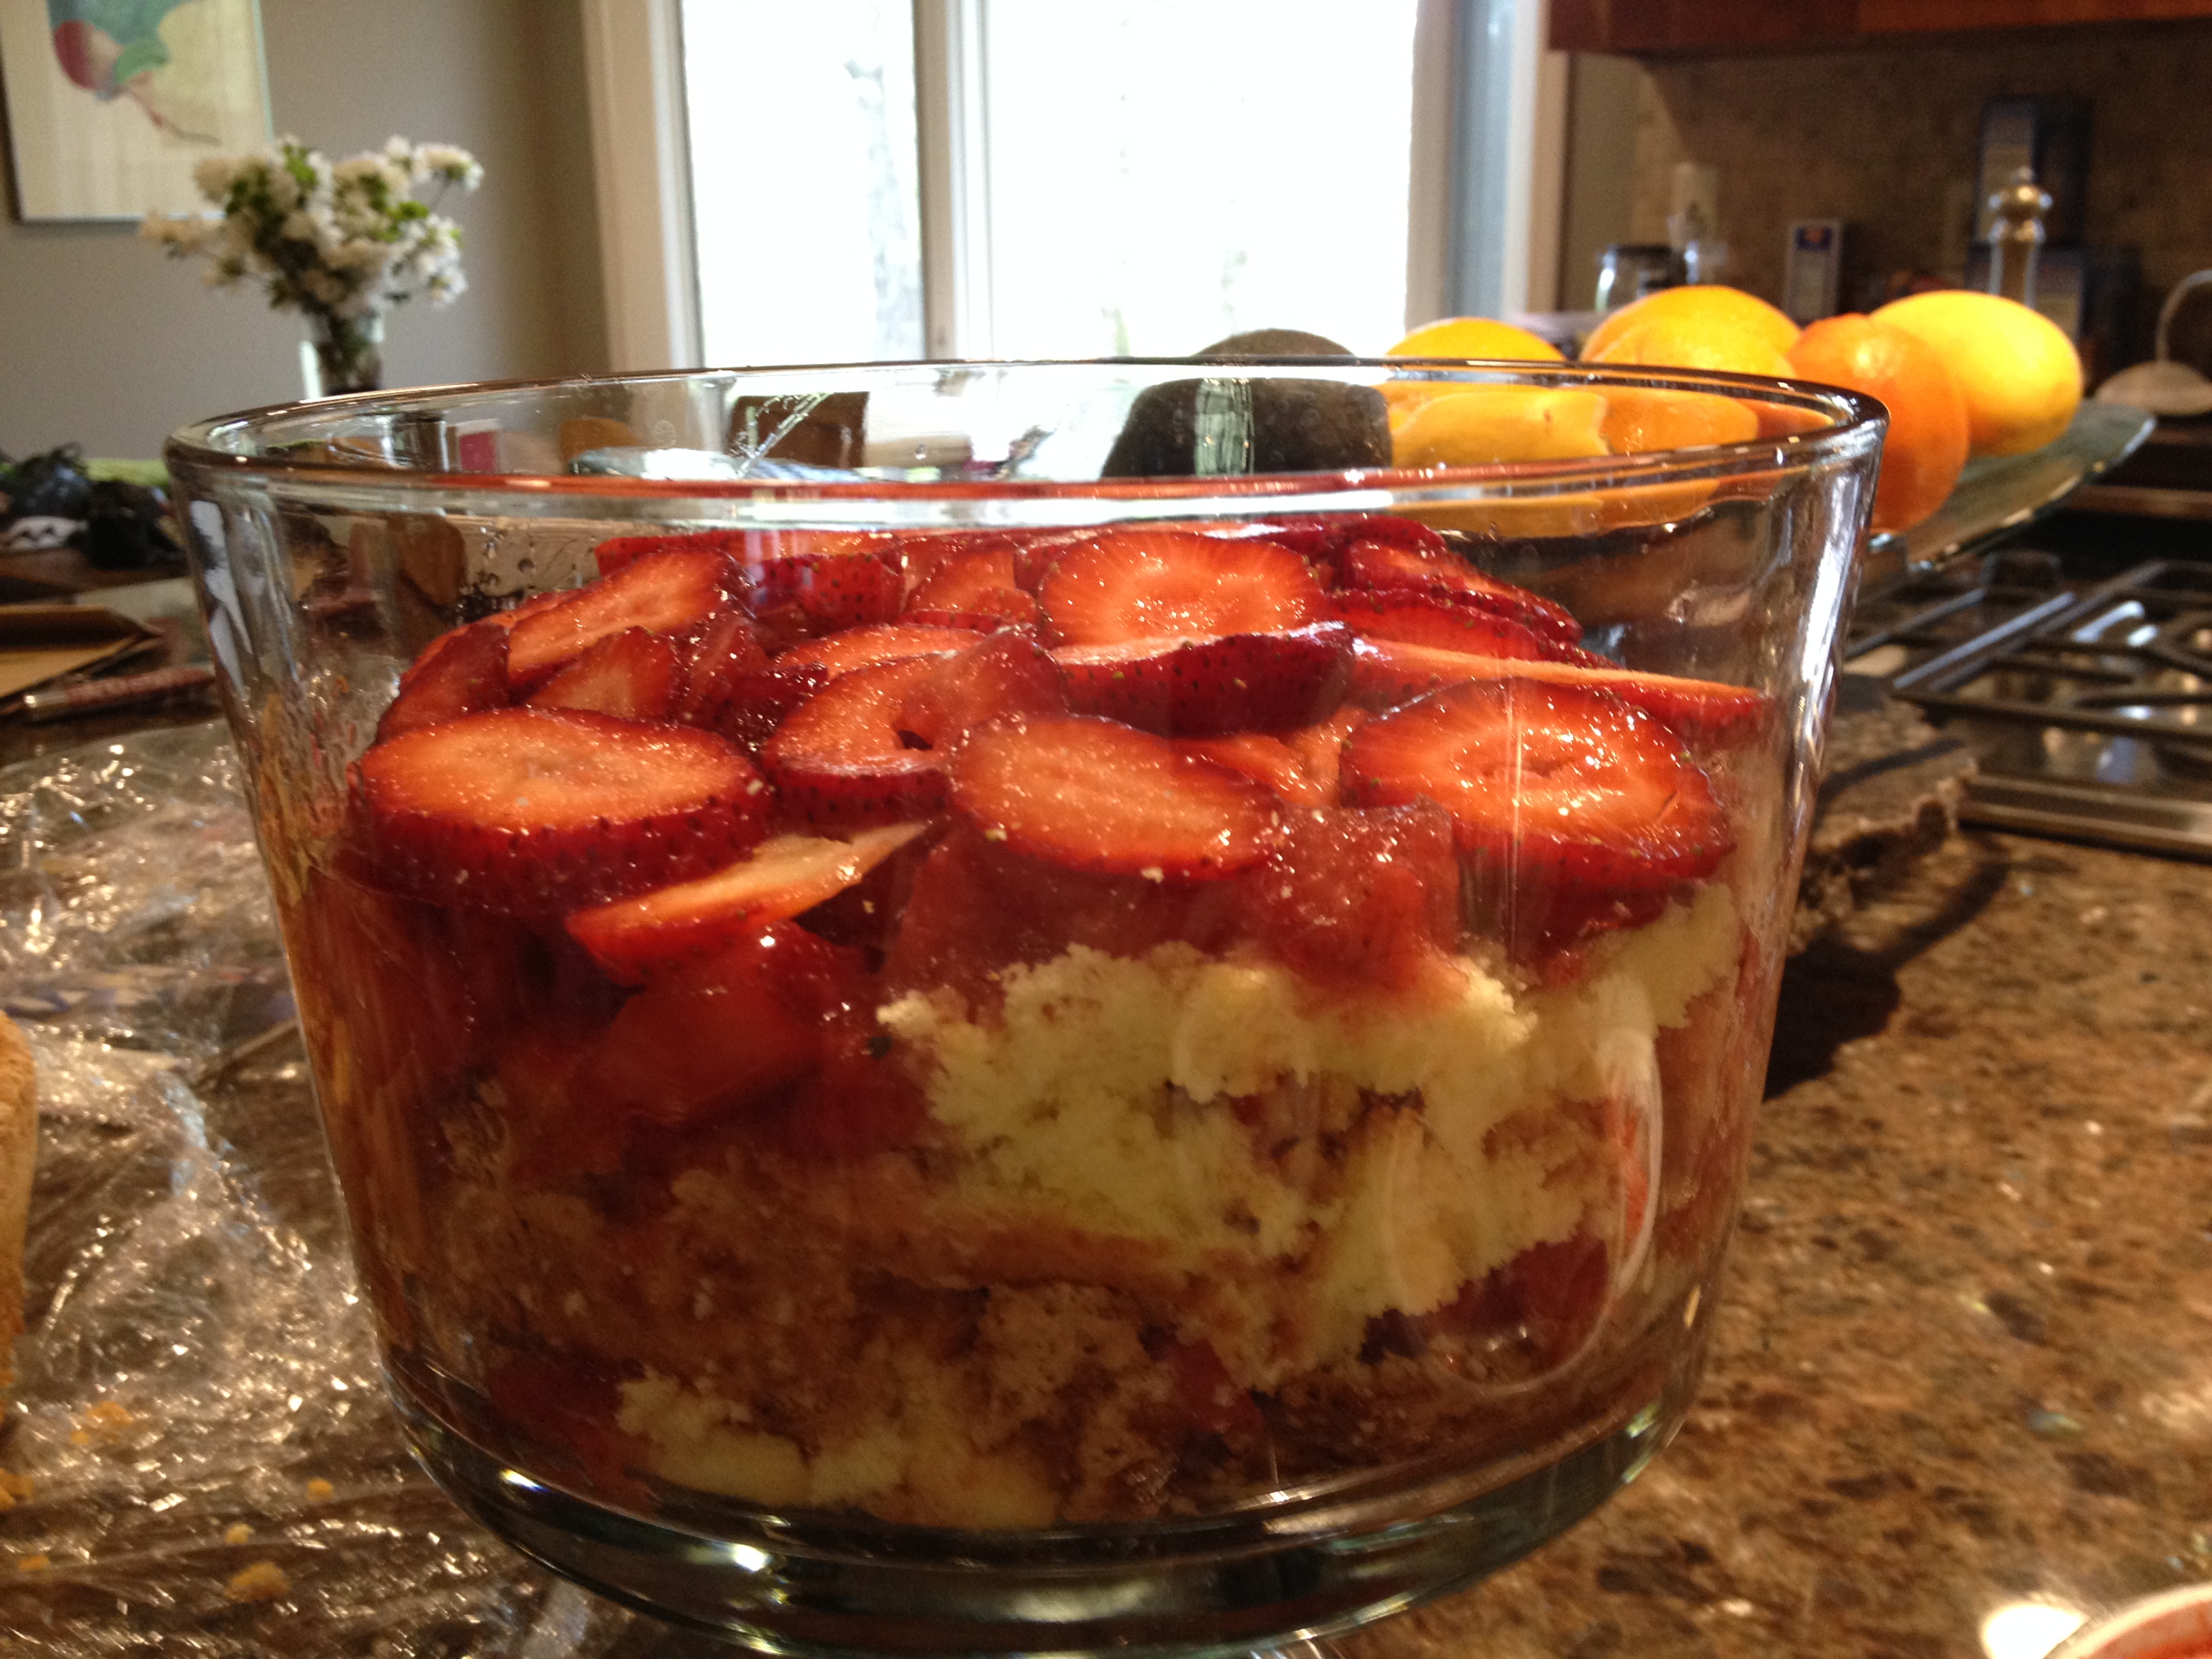
If the cake does happen to fall apart, it will still be delicious and no one will notice when you serve it layered in a trifle bowl with strawberries or lemon curd or both.

IMG_2201


Passover Potato Knishes

IMG_3432

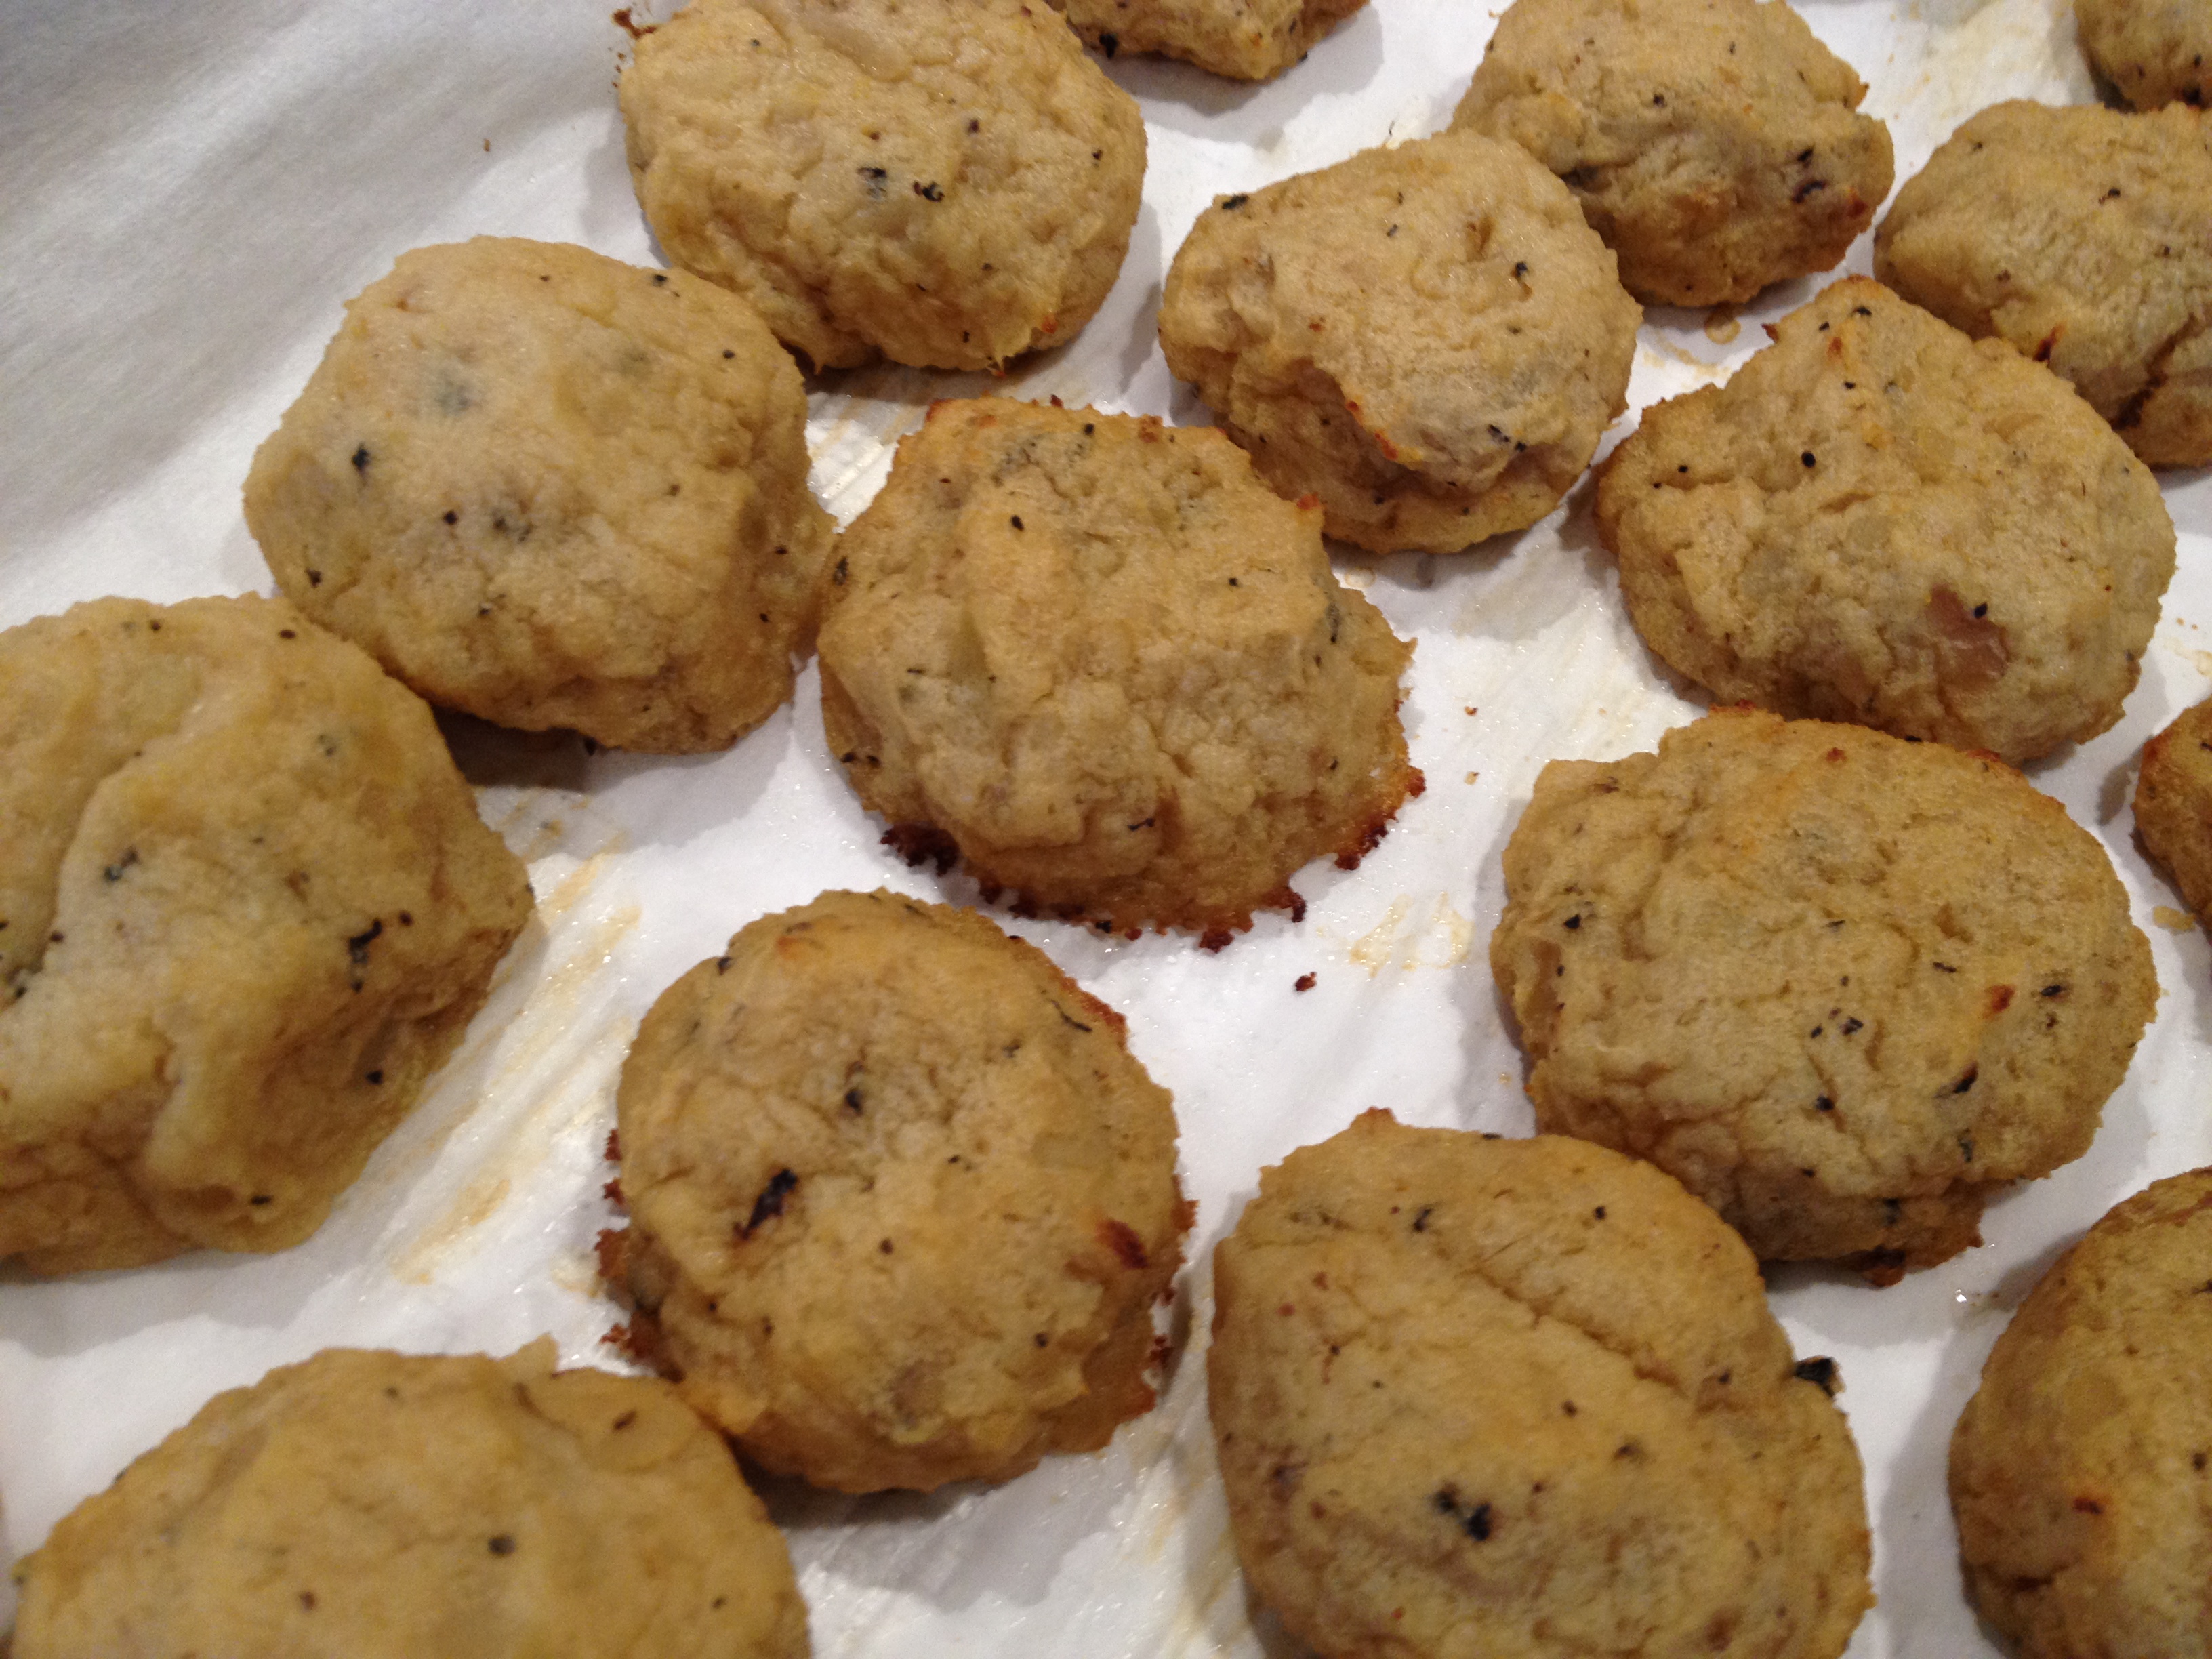
Bubbe used to make special Passover Potato knishes that looked like round balls of potato with a glossy outside but no dough. They tasted a little liker the insides of her regulars potato knishes. I never bothered to get the recipe because there were always so many other things to make on Passover. This year I wanted to make a gluten free Passover appetizer and decided I would try to replicate at least the concept of a Passover Potato Knish. The don’t look or feel like my Mom’s but they were such a huge hit, I think Bubbe would be proud!

  • 2 pounds sweet yellow onions
  • oil for sautéing onions
  • 5 pounds red potatoes
  • Lots of salt and pepper to taste
  • 3 – 4 tablespoons of canola oil
  • 4 eggs*
  • oil for brushing tops

*Egg whites can be substituted for whole eggs. Use 2 egg whites for every egg called for. I usually do half and half.


Chop onions and sauté in olive or Canola oil until very browned and reduced. This step can be done ahead of time. When I have a big cooking event coming up, I will chop up a whole bag of onions and sauté them and put them in the fridge. As I am cooking over the next few days I have a ready supply of sautéed onions for any recipe that calls for them.
Boil whole potatoes in salted water until done.
Rinse in cold water and peel off skins while potatoes are still hot, but you are able to handle them. I usually skin them while rinsing them under the cold water.
Mash the potatoes, adding in 1/4 cup canola oil, sautéed onions to taste (the more the bettering our household) and plenty of salt and freshly ground black pepper. Taste and adjust seasonings.
Lightly beat eggs and add to potato mixture, blending thoroughly.
Line baking sheets with parchment paper.
Wet hands with water and spoon potato mixture into hands to form a golf-ball sized potato mound. Place potato balls onto baking sheet. brush tops of balls very lightly with a little oil.
If serving at a later time, bake at 375° for about 15- 20 minutes until firm and lightly browned. Let cool completely and remove with a spatula. Store in a sealed container separating the layers with waxed or parchment paper. they can be frozen. To reheat, return to baking sheets covered with parchment paper and reheat in a 375° oven until browned and crisp around the edges, about 15 minutes.
If serving immediately, bake in 375° oven for 25 minutes or until browned and slightly crisp.

♦ ◊ Rosh Hashana Special

Dear readers,

Mother and daughter reunited in the kitchen to prep for Rosh Hashana meals.

Jump To Recipe

Together, we prepared beautiful food for our intergenerational family and friends ranging from the classics (chicken soup and matzoh balls, Kasha with Mushrooms and Onions, noodle kugel and brisket) to the new (lemon scented quinoa with pesto and kale and sweet new year ladoo). We tried to design most of our menu to apply to The Cleanse so that we’d have some leftovers for Esrei Yamim.

This is how my ___ turns out better than yours…

We threw around the above sentence freely throughout our work together in the kitchen, teaching one another new lessons. Our cooking styles are different (fo sho) but it worked.

The major consensus: no matter how much counter space you have, it’s never enough.

3 things daughter learned:

1. When roasting veggies in the oven, heat olive oil on the cookie sheet before placing the veggies on them. The hot oil will scorch the skins of the veggies adding an extra crunch. And you need a really hot oven to get good roasted veggies. With convection, the heat gets blown evenly throughout the oven with a fan, typically from the back, for more even and quick distribution of heat. If you have a convection-bake setting, you have the convection component as well as the normal heat coming from the bottom of the oven, which crisps the veggies with high heat.

2. I learned that the shapes I cut vegetables in makes a difference. Usually, I just cut vegetables into lopsided chunks or whatever’s easiest… that’s why they come out ugly.  Cutting veggies with sharp edges allows them to crisp better on the outside… and consistent sizes are important for timing.

3. You can wash sneakers in a washing machine and dry them in a dryer and they’ll come out like new… what?

3 things mother learned:

1. Turn off the overhead lights to minimize glare when photographing.  And white balance is important – when pictures are taken indoors, the colors in the artificial lights are captured, rendering the natural colors of what is photographed. The things that are actually white should look white in the photograph… not yellow or blue. This is best achieved when photographing in natural light or using flash. Take away: photographs should be taken outdoors or near a window with plenty of natural light.

2. I learned to be a little more experimental in mixing sweet and savory herbs.. like cinnamon and parsley. And sea salt! I learned about celtic sea salt, and that all the salts really do taste different.

3. If you let dried fruits and nuts run long enough in a food processor, eventually it will become a paste – the oil in the nuts will bind it together. And nuts have loads of oil, so be careful!

Kasha with Mushrooms and Onions

  • Kasha (whole buckwheat groats)
  • olive oil
  • mushrooms
  • onion
  • garlic
  • salt
  • pepper

This is an all time Jewish favorite!

First toast kasha on stove. Then, cook in water and salt according to instructions on box.

Meanwhile, cook onions in oil over low heat until deep brown – this will take a long time. Add garlic and mushrooms and cook til browned and tender. Stir into kasha. Add salt and lots and lots of pepper.

If you get bored of eating it like this, stuff the leftovers into pepper, add tomato and bake in the oven!

Kasha is also great as a garnish to any salad or veggie. Just toast the kasha and throw it on any dish for extra crunch!

Lemon Scented Quinoa with Pesto and Kale
Inspired this 101cookbooks.com recipe

  • 1tbs  extra-virgin olive oil
  • sea salt
  • 3 shallots diced
  • 3 cups cooked quinoa (here I used a combo of red, black and regular quinoa)
  • 1 cup corn, fresh or frozen
  • 2 cups kale, chopped and massaged with lemon and salt
  • 1/3 cup basil pesto
  • 1/2 cup pumpkin seeds, toasted
  • Juice and zest of 1 1/2 lemon
  • 1 cup roasted cherry tomatoes
  • 1/2 cup currents
  • 1/2 cup shopped scallions for garnish

Roasted tomatoes

Lay 1 pint of cherry tomatoes (seasoned with salt and pepper) flat on pan and roast in 350 degrees until shriveled and brown on the outside. This may take up to 1.5 hours.

In the meantime, cook the quinoa according to the box (I like to toast the quinoa in a pan before cooking – it brings out a nuttier flavor and always makes the quinoa more fluffy and chewy rather than mushy).

Heat 1 tbs of olive oil in pan. Add diced shallots and cook until brown. Add corn, salt and pepper and cook for 10 minutes. Add currants last, leaving them in heat for 2 minutes – just enough to plump them.

Remove corn, shallots and currents from stove and stir in pesto.

In a separate bowl, add chopped kale, sea salt, lemon juice and lemon zest. “Massage” this marinade into the kale, gently rubbing the leaves until they become bright green and tender. This should only take 5 minutes.

When above components are complete, mix together. Add pumpkin seeds and chopped right before serving so that they stay crunchy.  The best part of this dish is the variety of texture – chewy quinoa, gummy roasted tomatoes, and crunchy pumpkin seeds. And look at all the beautiful colors!!

Honey Cake

  • 3 C unbleached baking flour
  • 1 TBLSP cinnamon
  • 1 tsp baking soda
  • 1/2 tsp ground cloves
  • 1/2 tsp ground ginger
  • 1/4 tsp

Mix all dry ingredients together in a large mixing bowl

  • 1 heaping TBLSP of instant coffee or espresso dissolved in 3/4 C of boiling water (allow to cool to lukewarm)
  • 3 eggs
  • 3/4 C oil
  • 1 C honey
  • 3/4 C white sugar
  • 3/4 C brown sugar

Mix liquids and sugars together

Mix sugar mixture into flour mixture.

  • Juice and zest of 1 lemon
  • 2 tsp vanilla
  • 1 C raisins

Add to combined mixture and mix thoroughly.

Preheat oven to 350°.
Grease 2 standard sized loaf pans.
Divide batter into the loaf pans.
Bake about 45 minutes til toothpick comes out clean. Start checking at 35 minutes and do not overbake.

<img class=”alignright size-medium wp-image-693″ title=”IMG_0613″ alt=”” src=”https://shainashealy.files.wordpress.com/2012/09/img_0613.jpg?w=200″ height=”300″ width=”200″

Sweet New Year Ladoo Balls on The Cleanse

  • 2 cups walnuts
  • 1 cup cashews
  • 1/2 cup pumpkin seeds
  • 1 cup dried figs
  • 1 cup pitted dates
  • sea salt
  • cardamom (best if fresh out of pods)
  • cinnamon
  • raisins
  • unsweetened coconut shreds

Dump all ingredients except for raisins and coconut shreds into food processor, and run processor until a smooth oily paste develops.

This may take a while depending on the food processor. If it gets warm, turn it off for a bit so that you don’t overheat the engine. Remove from food processor and mix raisins into paste. Roll into balls, and then roll in coconut shreds. Put in fridge to allow the balls to harden before serving.

cardamom pods

This version of the balls tasted a bit earthier than the original. I used only pumpkin seeds in the original version, which produced a creamier, smoother taste. Really, any nuts will work (any combo of fruity sweet and nutty fat is delish) – use whatever you have in the house.

Bubbe’s Potato Knishes

 Potato Filling

  • 5 lb potatoes
  • 3 lb onions
  • 1 tbs Mazola corn oil
  • sea salt
  • black pepper

Boil 5 pounds of good potatoes (I like the thin skinned red ones) in salted water until done

Chop up 3 pounds of onions (more if you like onions) and sauté them in a little Mazola oil until golden or as brown as you like.

Peel and mash potatoes, add cooked onions, a little oil and salt and pepper to taste.

 Dough

  • 1 c boiling water
  • 1 c Mazola corn oil
  • Gold Medal unbleached flour

Mix equal parts of boiling water and Mazola Corn Oil (1 cup each)

Add enough Gold Medal Unbleached flour to make it doughy and elastic. It should be soft, pliable, shiny and greasy to the touch.

 Putting it all Together

Take a small handful of dough and roll out on a floured surface until very thin and almost translucent in an oval shape that is longer than it is wide.   (12 -14” horizontally by 5-6 inches wide)


Place a tube-like amount (1 – 1 ½ “ diameter) of  the potato mixture filling about a ½ inch from the edge of the rolled dough closest to you along the length of the dough. Just plop the potato mixture along the edge of the dough and shape it as you roll it.  Imagine the potato mixture as a long thick hot dog that you will wrap dough around.  Use more potato mixture if you like really thick knishes.

 Start at the long edge of the dough closest to you and roll/wrap the dough around the potato mixture tightly to shape your roll (like a long horizontal tube) and continue rolling the dough around itself until you have wrapped it a few times. Because the dough is thin, wrapping it a few times will cover any holes that may have popped up. The dough is very stretchy and is actually pretty forgiving.  Close the ends by pinching the dough together or folding ends under.

 Lift the Knish “tube” and place seam side down on a cookie sheet sprayed with PAM or use parchment paper. Lightly score (cut) the top of the tube with horizontal angled cuts about an inch apart across the length of the tube to define each bite size piece that you will cut after the knish is baked. Do not cut all the way through.

Bake at 350º

Brush the top lightly with oil and bake at 350º until golden and crisp.  Cut along scored lines and place knish pieces on platter to serve immediately, if you can get them out of the kitchen before they disappear.  You will get several tube-like rolls of knishes from this recipe. You can cut 10 to 15 knish pieces from each roll depending on how big you make them. Bubbe’s knishes are generally no bigger than 1 ½ inches in diameter and cut into pieces about that long.  Whole lightly baked knish rolls can be frozen and re-baked at a later date when needed. Before rebaking, brush with a little oil and add a little salt n the top if you like them on the saltier side.  Pop the frozen knish in the oven at 350 and bake until crisp and golden.

 Options

If you run out of dough before you run out of filling, make another batch of dough, or just serve mashed potatoes with onions at your next meal. If you have too many fried onions, save them in a glass jar and use them next time you make something with fried onions, which in our house, was almost every meal.  If you run out of filling before the dough, just freeze the leftover dough and use it when you have some extra apples or peaches or blueberries and make a strudel.

 This dough is very versatile and can be used with any filling, sweet or savory, using the same method.  Some of my mother’s specialties were cheese knishes (farmers cheese with onions and dill, mixed with a little egg to hold the mixture together) and raisin strudel (finely chopped raisins and nuts held together with a little strawberry or apricot jam, with the dough topped with a mixture of cinnamon and sugar), all of them tightly rolled in the same dough and cut into those perfect bite-sized pieces